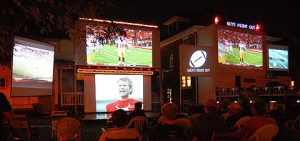
Tips for an outdoor projector installation.
One of the main reasons projectors are not installed outdoors is they need protection and sometimes a completed installation, but let us debunk that idea with the following 5 tips.
Selecting the right projector for your backyard home cinema.
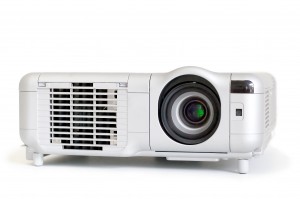
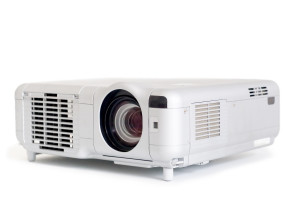
Picking the right projector for your outdoor home cinema is essential one of the key points, so you need to understand if you require a short throw or a long throw the choices are enormous, then you have to think of brand and how many lumens! All this sounds confusing, right?
A short throw projector will enable any home cinema to show large images in a short distance due to the specialist lens in the projector. So you have to first establish where the projector is being located, is this going to be a temporary installation that you have to set up every time you want to throw a movie night, or is this something more permanent that can be used almost every night?
You also need to know about ANSI lumens (mostly referred to as lumens), this really depends on time you intend to show movies and how bright the light is at that time, with solutions up to 50,000 lumens this cannot be covered here.
Position in your backyard.
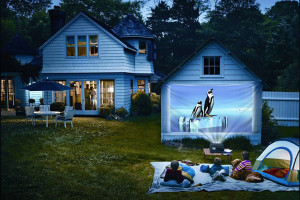
Next you have to think of the location that the projector is going to be , this really depends on if it’s going to be a temporary or permanent installation and based on the throw length of the projector.
If you are going to have a temporary installation, you have to consider what happens if the children are playing or over excited adults after a few drinks messing with a football and they accidentally damage the projector? What’s your back up plan? Normally temporary setups take on average 3 hours to set up and take down every single time you wish to watch the movie, compared to a 2 hour permanent installation that is a onetime investment in your time.
Protection with a weatherproof projector housing.
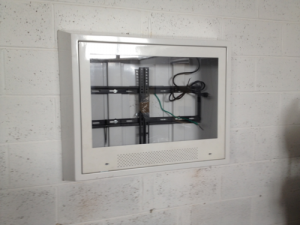
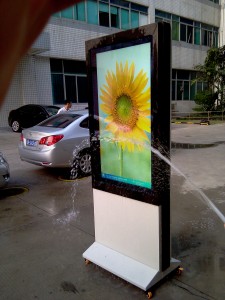
There are several things that can effect an outdoor home cinema, the following is only some of them, potential theft of hardware, accidental damage, weather damage to the hardware, all these can be eliminated with a weatherproof projector housing, as these steel housings are designed for outdoor use and come complete with cooling and heating systems preventing condensation to build up inside the housing and damage the projector.
A secure weatherproof projector housing are ideal, as they can be left out all year and the hardware is protected from the weather, no matter how hot or wet! Some enclosures are supplied with cheap locks that can be opened easily, one we found uses high security locks that cannot be opened without the key – so don’t lose it! The weatherproof projector housing then has the complete protection in 1 unit, weatherproof protection and security.
The other option is to take the projector indoors every time you have finished, but this is not possible if there is a sudden down pour of rain, in this instance the hardware will have to be left to dry out if unprotected an hopefully it will be ok, otherwise the hardware will have to be replaced.
Screen choices.
If the screen for example has a width of 10 feet and the projector is 15 feet away from the screen, you need a projector with a ratio of 1.5:1.
For the screen, you can use any part of your property, including the fence, garage door and external walls, so the choice is down to you and your individual situation.
Cable protection.
If you are laying cables in the ground for a permanent installation, you need to put a steel duct along the route of the cables and feed the cables through, as you do not want an accident if you accidently cut through them with a spade while turning over the garden, do you?
If this helped you with ideas on how to install an outdoor home cinema, please pass it on to your friends who may also benefit.
But remember any electronic hardware that is put outdoors needs protecting from the weather, accidental damage and potential theft, so use a secure weatherproof projector housing.


